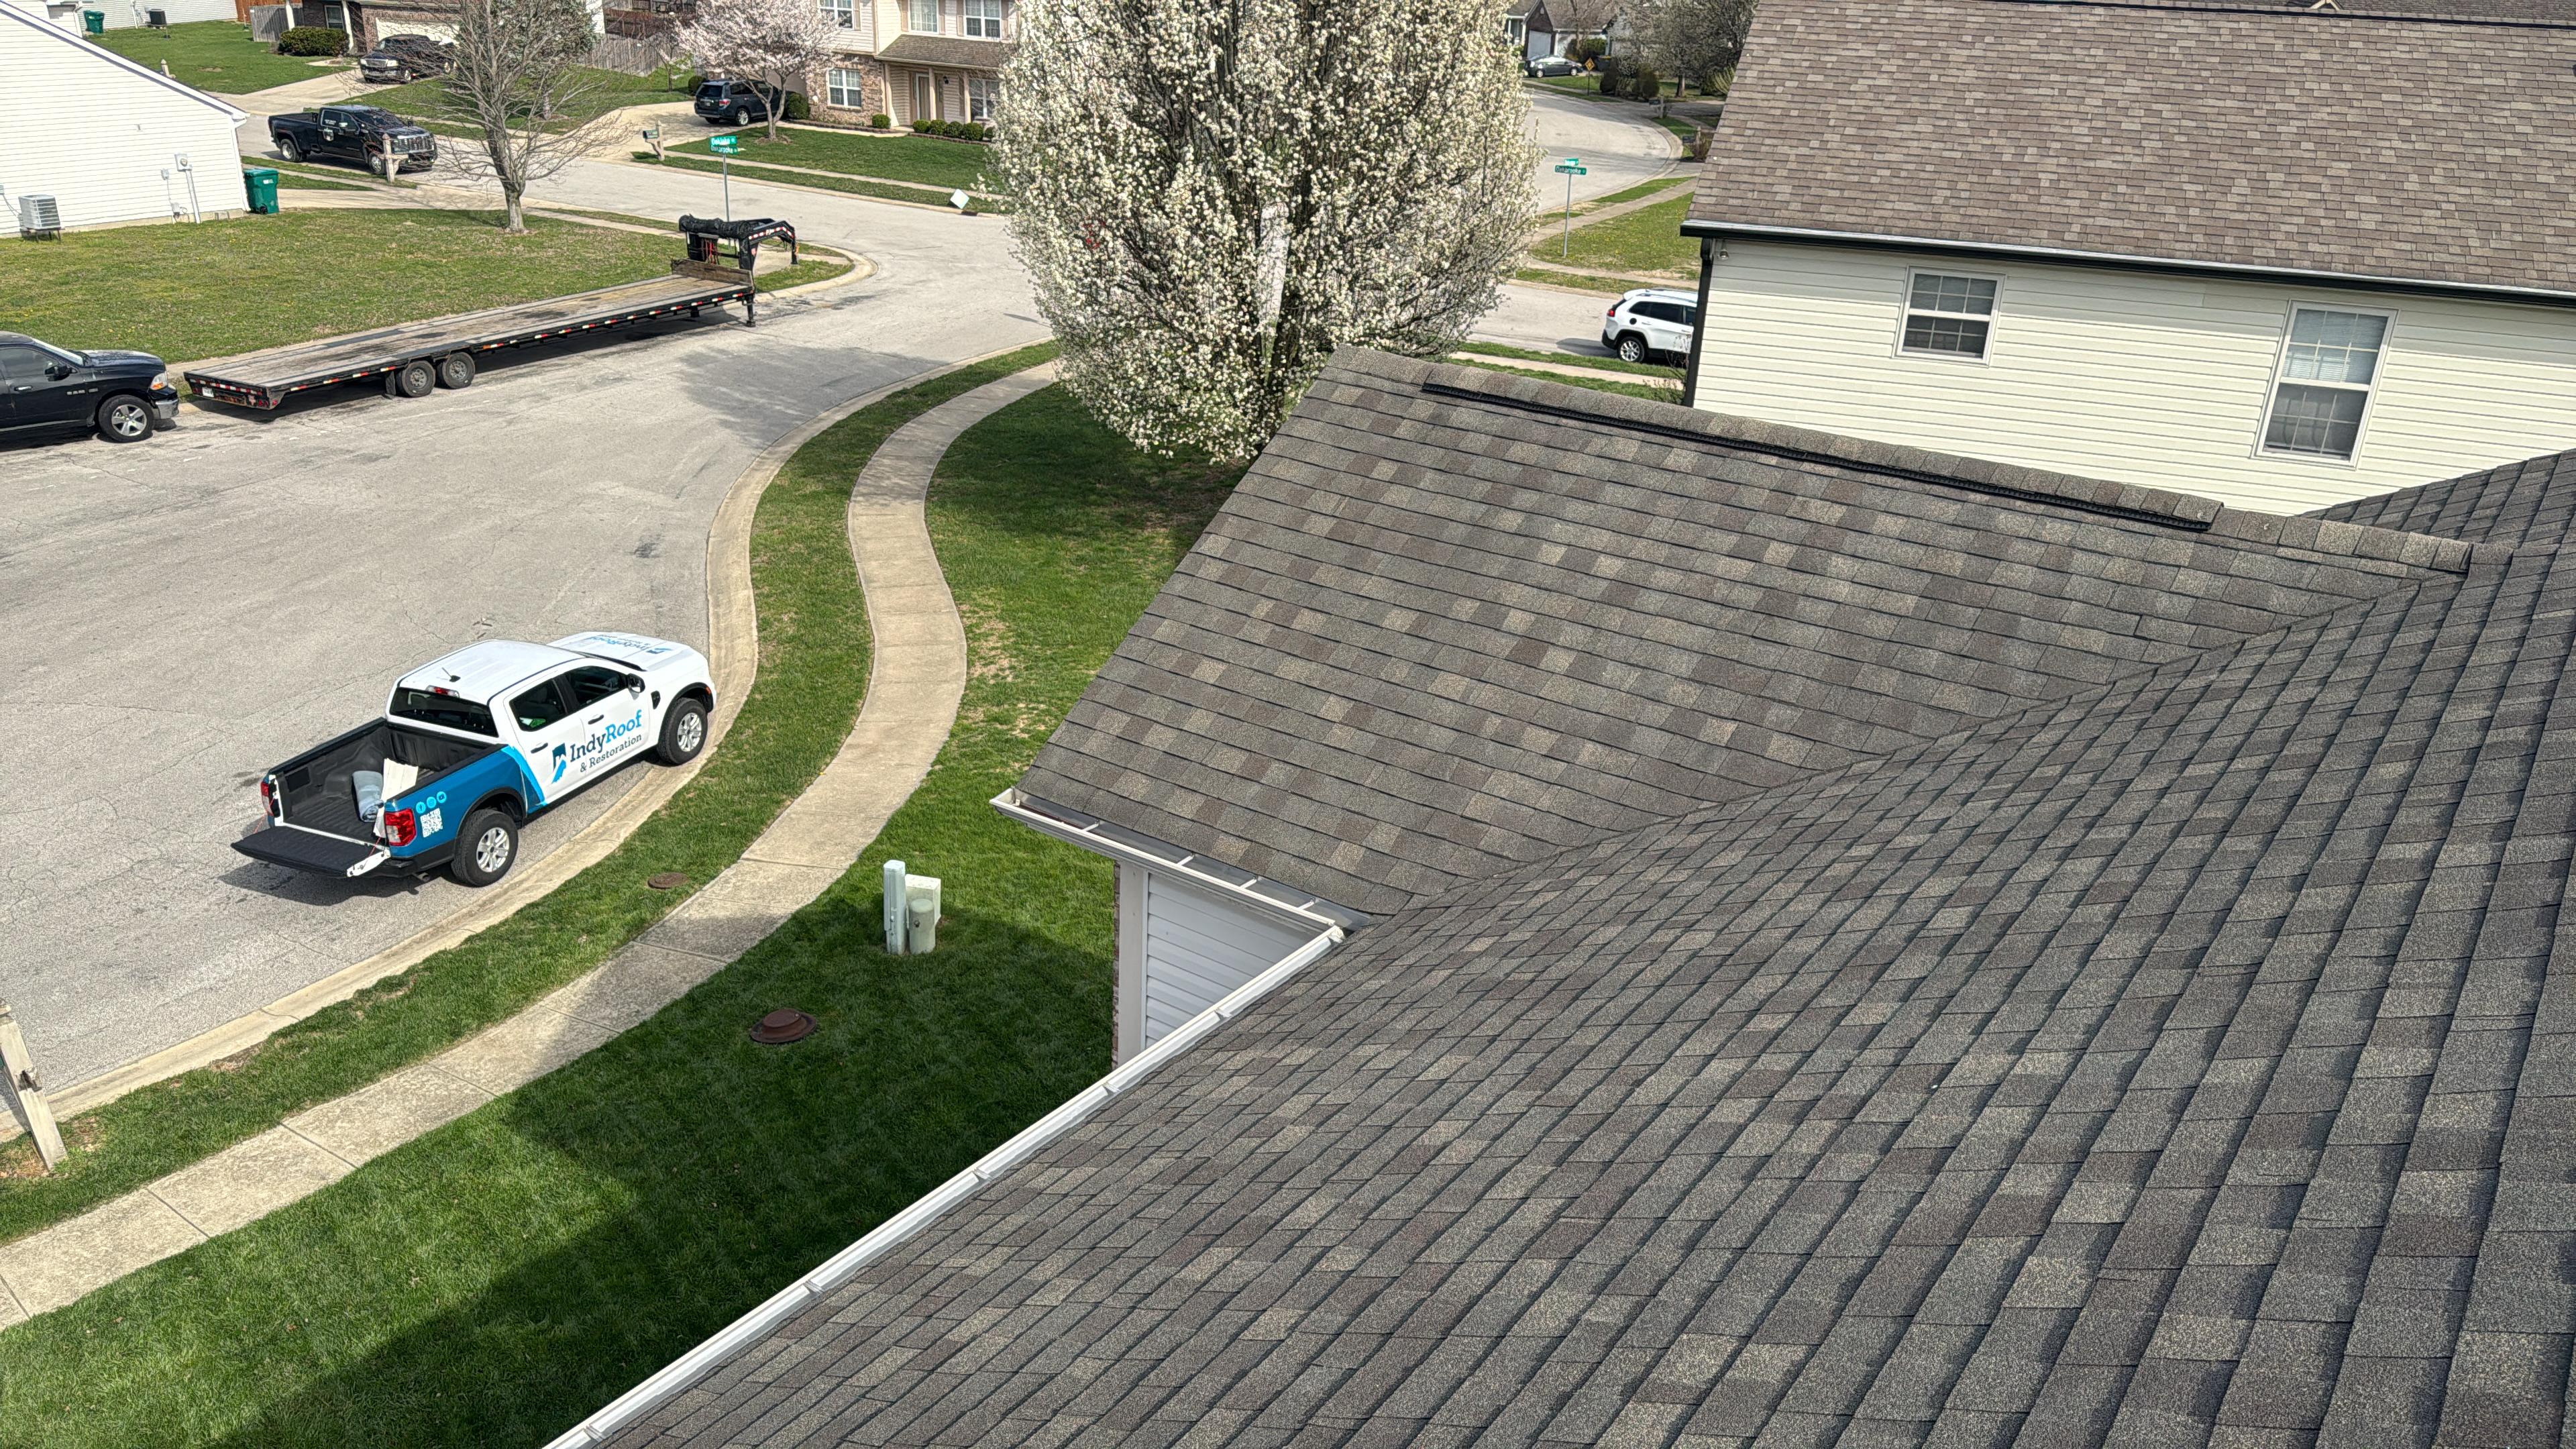
7 Steps to Detect and Repair a Roof Leak
Work through these in order. Most McCordsville homeowners can handle the first three from the ground.
- Scan the ceilings and walls inside.
- Check the attic with a flashlight.
- Walk the perimeter and look up.
- Inspect the gutters and downspouts.
- Identify the likely leak source.
- Decide: DIY patch, pro repair, or replacement.
- Document everything before work begins.
1. Scan the ceilings and walls inside
Start where water shows up first. Grab a flashlight and move room by room.
- Yellow or brown ring stains on ceilings
- Bubbling or peeling paint near ceiling corners
- Dark spots around bath fans, skylights, and chimneys
- Soft or sagging drywall when you press it lightly
- Musty smells in closets that share a wall with the exterior
- Warped trim or baseboards on upper floor exterior walls
- Rust stains bleeding through paint near can lights
Mark each spot with painter's tape. You will want a map later.
2. Check the attic with a flashlight
Pick a dry afternoon. Attic temps can climb past 130 degrees in an McCordsville summer, so move quickly and watch your footing on the joists.
- Look for daylight through the roof deck
- Check nails for rust rings (a classic condensation clue)
- Scan insulation for matted, darkened spots
- Feel rafters near valleys and penetrations for dampness
- Note any black mold staining on the underside of the deck
- Check bath fan and dryer vent terminations for disconnected ducts
- Look for frost lines in winter that melt and mimic a leak
If you find active water, place a bucket and take photos. If you see widespread dark staining across the deck, that points to ventilation issues, not just a single leak.
3. Walk the perimeter and look up
Stay on the ground. Binoculars work better than a ladder here.
- Missing, curled, or cracked shingles
- Shingle granules piled in gutters or splash zones
- Lifted or rusted flashing at chimneys and sidewalls
- Rubber boots around plumbing vents showing cracks
- Sagging rooflines or wavy ridge lines
- Daylight visible under ridge caps from the yard
- Caulk that has pulled away from metal flashings
Hail and wind events are the top leak creators in McCordsville. If a storm rolled through in the last 12 months, review our storm damage response page before anything else so you do not accidentally void an insurance claim.
4. Inspect the gutters and downspouts
Clogged gutters are the cheapest, most ignored cause of leaks we see.
- Standing water or sludge in the troughs
- Shingle grit filling the bottom third
- Seams dripping during a normal rain
- Downspouts that empty too close to the foundation
- Ice dam damage lingering from last winter
- Fascia boards showing streaks, rot, or peeling paint
- Gaps between the gutter apron and the drip edge
If ice backups are a repeat problem, our breakdown on winter ice dam prevention walks through insulation and ventilation fixes that solve the root cause.
5. Identify the likely leak source
Leaks almost never start where the stain appears. Water travels. Here are the usual culprits, ranked by how often we find them on McCordsville service calls:
- Failed pipe boots and vent flashings (roughly 1 in 3 calls)
- Step flashing at sidewalls and dormers
- Chimney counter flashing and crickets
- Nail pops that telegraph through shingles
- Valley metal that has rusted or shifted
- Skylight seals past their 10 to 15 year life
- Ice damming at the eaves
- Wind lifted shingles after 60+ mph gusts
- Satellite dish mounts drilled through shingles without sealant
- Ridge vents with loose end caps or missing baffles
Water follows the path of least resistance, which usually means it runs along a rafter, drips onto a ceiling joist, then finally shows through drywall six or eight feet from the actual entry point. A second set of eyes in the attic while someone runs a garden hose across the roof is the fastest way to find it.
6. Decide: DIY patch, pro repair, or replacement
Match the situation to the right response. Use this as a quick filter.
DIY-friendly:
- Tightening a loose downspout
- Clearing a gutter clog
- Replacing a single cracked vent boot if you are comfortable on a ladder
- Resealing a small gap in exposed sealant with a matching roofing product
Call a pro:
- Multiple missing shingles or exposed underlayment
- Flashing repairs at chimneys, walls, or skylights
- Any active drip showing up inside
- Leaks after hail, wind, or a fallen limb
- Anything on a roof pitch steeper than 6/12
- Repairs that involve stepping on a wet or mossy surface
Think replacement:
- Shingles past 20 years with widespread granule loss
- Three or more leak points in different areas
- Decking that flexes underfoot
- Repeat repairs in the same location
- Matching shingles no longer made by the manufacturer
If any of those last bullets sound familiar, the indicators in our signs your roof needs replacement guide will help you pressure test the decision before you spend a dollar.
7. Document everything before work begins
Whether you file a claim or pay out of pocket, a clean paper trail saves money.
- Date stamped photos of every stain, inside and out
- A note on the storm date if weather was involved
- Receipts for any emergency tarping
- A written scope from the roofer, not a verbal quote
- Copies of the manufacturer warranty registration
- Before and after shots from the same angle for each repair area
- A short video walkthrough of the attic on your phone
Emergency Steps Before the Roofer Arrives
If water is actively coming in, buy yourself time without making the damage worse.
- Move furniture, rugs, and electronics out of the drip zone
- Poke a small hole in a bulging ceiling to release trapped water into a bucket
- Lay towels and a plastic tarp to protect flooring underneath
- Shut off power to any circuit near the wet area
- Run a fan or dehumidifier once the drip slows to prevent mold
- Snap photos every few hours to show progression
Do not climb on a wet roof to tarp it yourself. Most McCordsville Roofing crews can deploy an emergency tarp within a few hours, and a bad DIY tarp job often tears off in the next gust and shreds more shingles on the way out.
Common McCordsville Leak Scenarios and What They Mean
- Drip only during driving rain: usually wall flashing or a siding issue, not the field of the roof
- Stain appears days after the rain stops: slow deck saturation, often from an ice dam or valley
- Ceiling ring that grows each storm: active, worsening leak, stop waiting
- Water around a light fixture: shut the breaker first, then call
- Brown spots only in winter: likely condensation from poor attic ventilation
- Drip near a chimney after every rain: failed counter flashing or a missing cricket
- Wet insulation with no ceiling stain yet: early stage leak, easiest and cheapest to fix now
What a McCordsville Roofing Leak Call Looks Like
- Free inspection scheduled, usually within 48 hours
- Drone and hands on assessment of the roof
- Attic check to trace the leak back to its real source
- Written findings with photos, emailed the same day
- Repair first recommendation when the roof has life left
- Straight answer on insurance eligibility if a storm is involved
- Clear pricing in writing before any crew touches the roof